x240-kbd
A standalone USB keyboard with touchpad and TrackPoint, built from a ThinkPad X240 keyboard assembly (FRU 0C44020) and its Synaptics ClickPad, driven by a Raspberry Pi Pico running QMK. No drivers on any OS — it is a plain USB HID composite device.
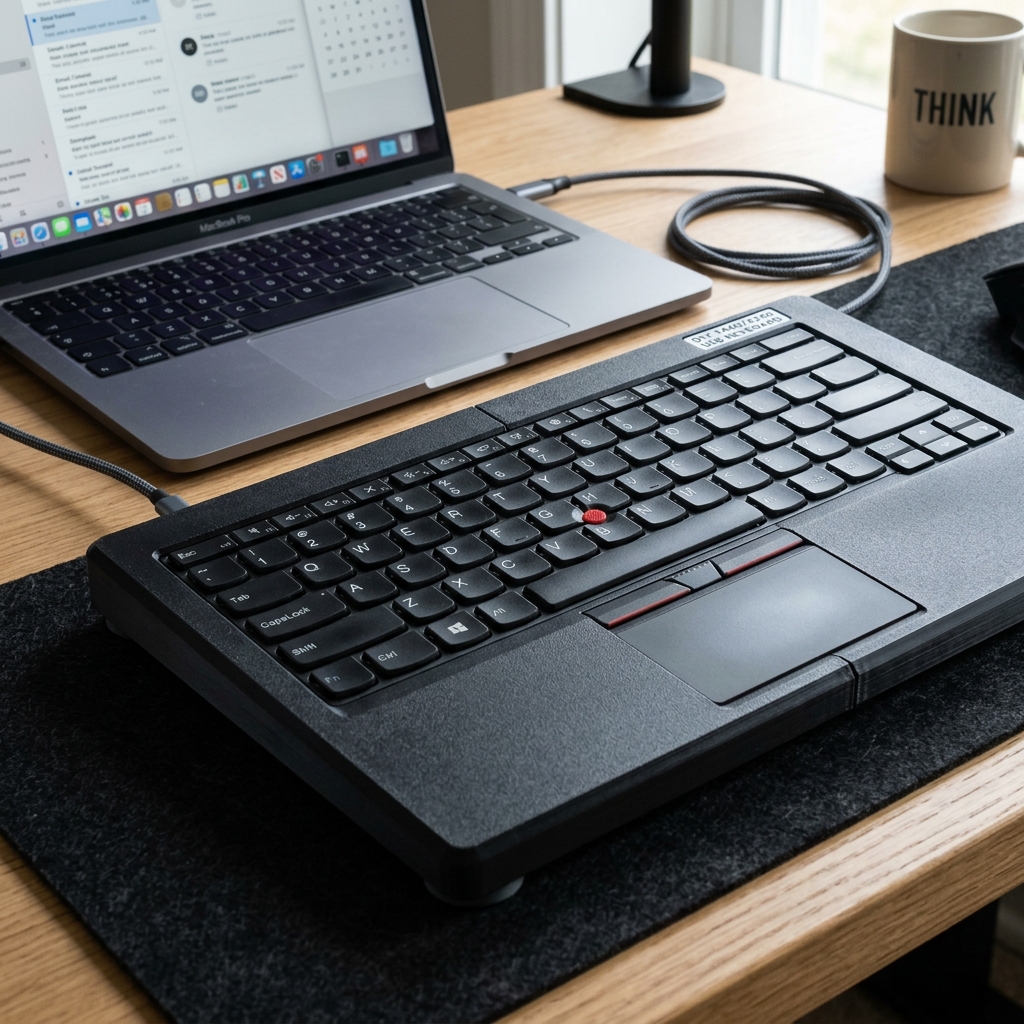
Status: designed, not yet built. Two things are decided only by measurement: the keyboard’s matrix pinout, and whether the TrackPoint rides the ClickPad’s PS/2 pass-through port. Everything here is designed to survive either answer. The probing step is milestone M2.
What you get
- Full 84-key X240 layout, NKRO, FN layer with the ThinkPad media keys, FN Lock
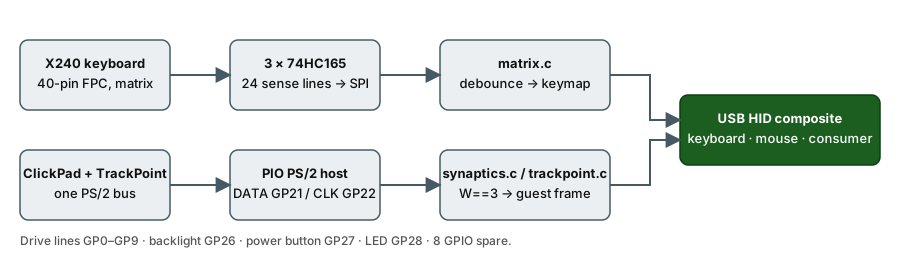
- ClickPad cursor and click zones, TrackPoint decoded from Synaptics pass-through frames
- Keyboard backlight (backlit variants), power button with a hold guard, touchpad LED
- Micro-USB, with a documented USB-C upgrade
- Two enclosure routes — 3D-printed split case, or hand-made with no printer
- Two electronics revisions — Rev A perfboard, Rev B PCB — same firmware, same GPIO map
What it costs
| Build | All-in (USD, Aug 2026) |
|---|---|
| Rev A + your own printer | $90–130 |
| Rev A + reused X240 base cover, no printer | $110–150 |
| Rev B PCB | add $25–35 |
The donor keyboard and palmrest are most of it. Full BOM →
Start here
- Component reference — every part, datasheet, and where to buy it.
- GPIO budget — why a Pico needs a shift register for this keyboard.
- TrackPoint — how the stick reaches the host, and the one measurement that confirms it.
- Firmware — what QMK is configured to do, and the two corrections that make it build on RP2040.
- Enclosure — printed or hand-made.
- References — the projects and datasheets this stands on.
The step-by-step build lives in the repository:
ASSEMBLY.md, with the
wiring reference in
hardware/wiring/wiring_diagram.md.
Two things the earlier plan got wrong
This project started as a paper design and was corrected after research. The full list is in the changelog; the two a builder must know:
- USB-C wiring. The Pico’s underside pads are TP1 = GND, TP2 = D−, TP3 = D+. The first revision said TP1 = D−; built that way, ground shorts onto the data line.
- PS/2 driver. On RP2040 the only hardware PS/2 path is the PIO driver (
vendor), and it requires the clock pin to be the data pin + 1 — so DATA = GP21, CLK = GP22.
Progress
Nine milestones, M0 Documentation through M8 Release, tracked as
issues. Issues labelled
blocked-on-hardware wait for the donor parts to arrive.